

This article covers setup instructions for WebDAV service on NAS using macOS as client.
Supported Devices
NAS326
NAS520
NAS540
NAS542
Enabling WebDAV
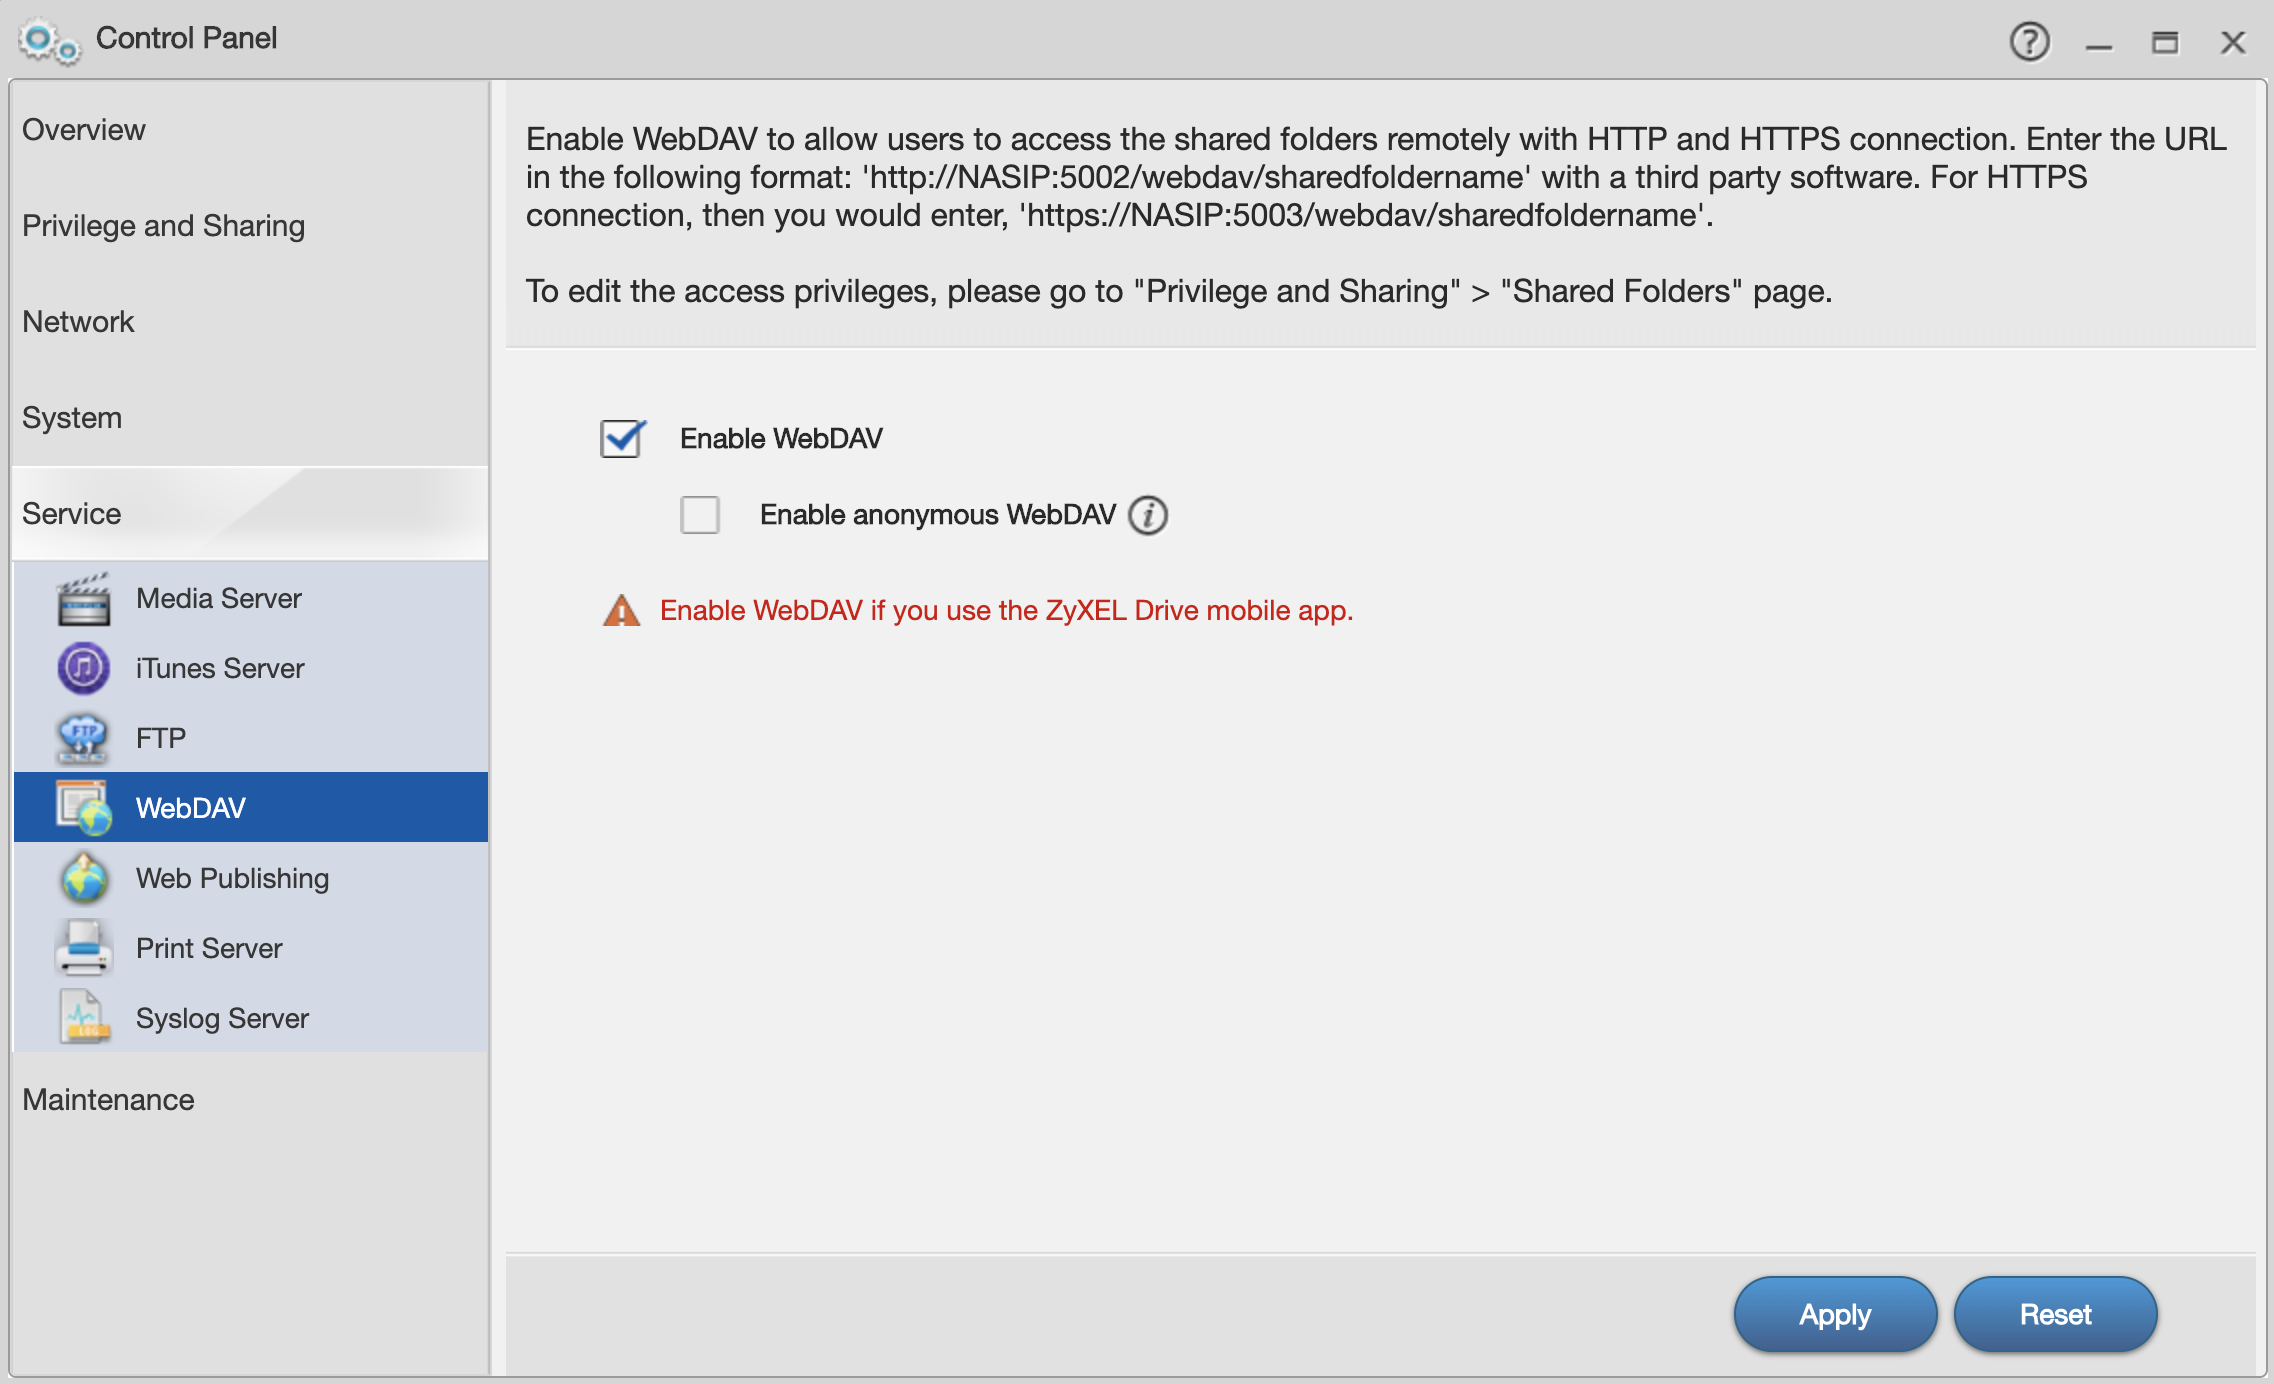
To enable the WebDAV feature on your NAS open the "Control Panel" app and go to menu, Service → WebDAV.
- Check the box to "Enable WebDAV" feature
- Click the Apply button to save the settings
Now that the feature has been enabled you can access the WebDAV share(s) on your macOS computer.
macOS WebDAV Access
To connect to the WebDAV share using macOS open Finder and click on the "Go" menu option. From the "Go" menu select "Connect to Server..." or hit ![]() + K on the keyboard.
+ K on the keyboard.
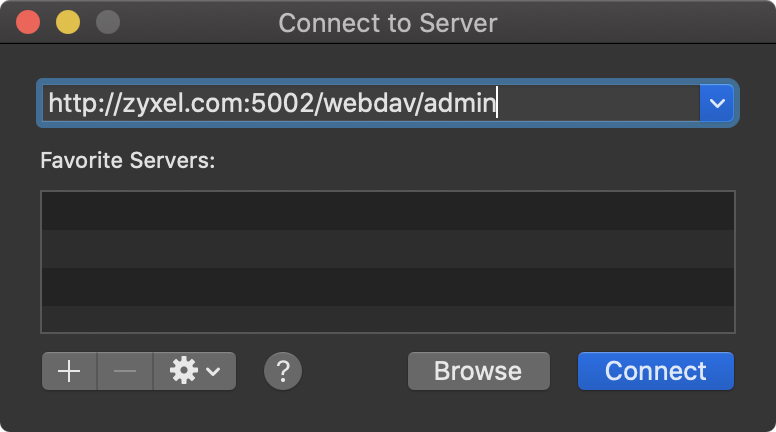
- Type in the WebDAV link address 'http://NASIP:5002/webdav/sharedfoldername' or 'https://NASIP:5003/webdav/sharedfoldername'
- Click the Connect button to initiate the connection
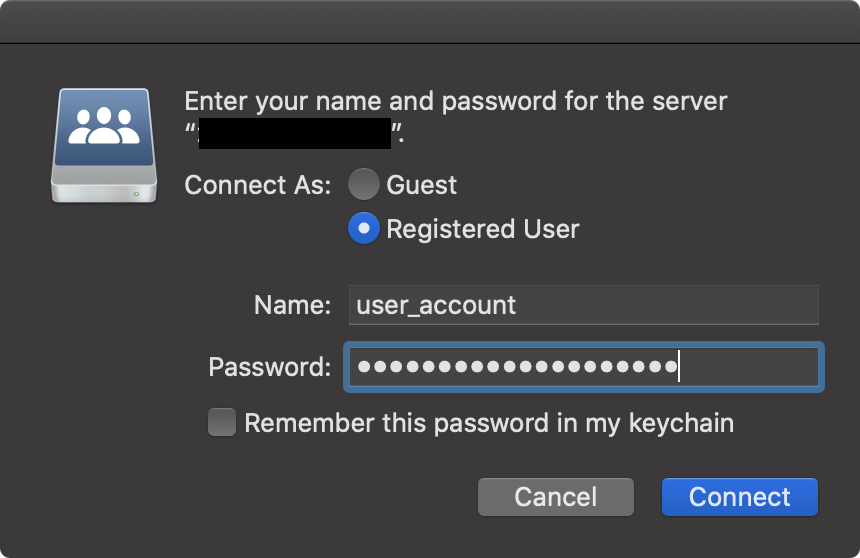
- Enter the user credentials to access the share and click Connect
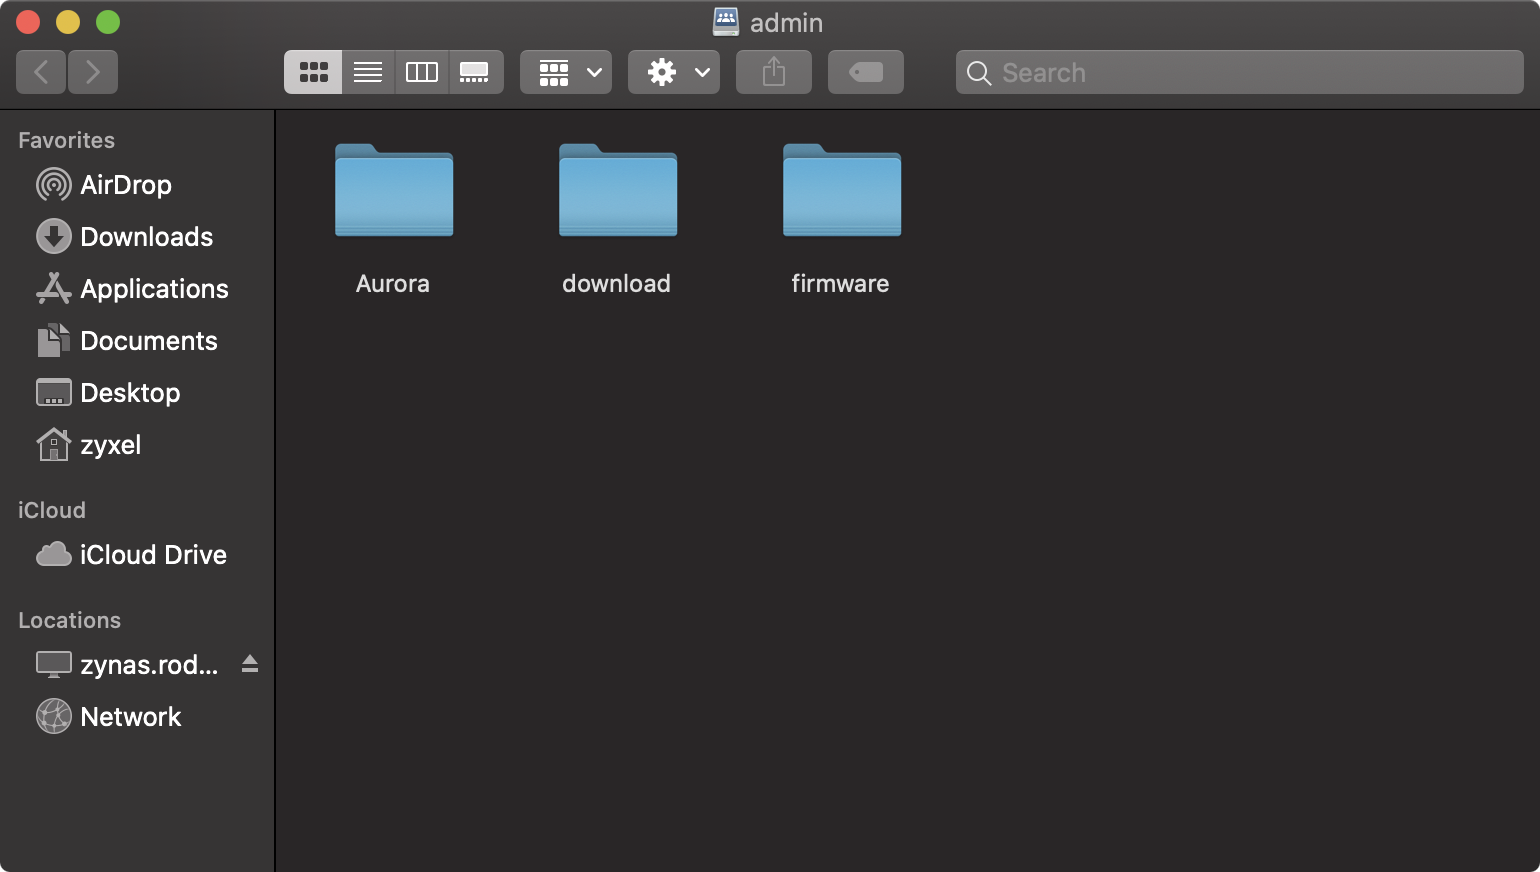
- Once authenticated the share will open and you will be able to access the resources
Comments
0 comments
Please sign in to leave a comment.