
Overview
This walkthrough will help users create new user accounts on the ZyXEL NAS devices and/or edit privileges for these accounts. This allows you to create users with different access levels for the NAS appliance. Users can be created to only have read access over multimedia for example. Having different user account allows you to keep sensitive data private from other shared data as well as provide a log in case you need to know who make any changes to setup or documents (requires syslog setup).
Supported Devices
NAS326 – Running firmware version 5.20 and newer.
NAS520 – Running firmware version 5.20 and newer.
NAS540 – Running firmware version 5.20 and newer.
Creating User Accounts
To add a new user account to the NAS please access the device web configuration screen and open the Control Panel menu item.
Follow the steps below to create new user accounts from the Control Panel:
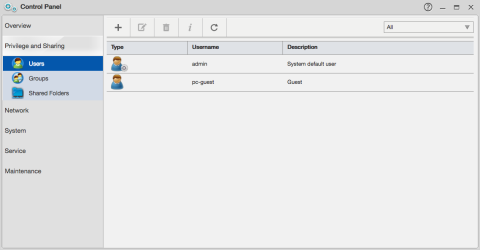
- From the left pane click on "Privilege and Sharing" to access the Users, Groups and Shared Folders options. Select the Users menu and click the "+" button at the top of the window to create a new user account.
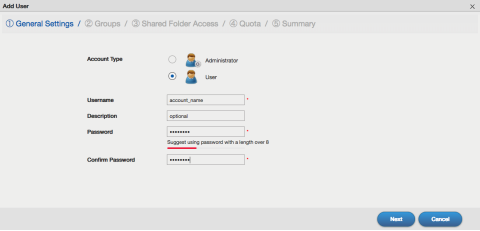
- The creation of a new user accounts goes through multiple options such as adding the user to groups and setting shared folder privileges. The first step to create a new user is to specify what type of account this is, an ‘Administrator’ account or generic ‘User’ account. Provide a username and password for the account and click Next.
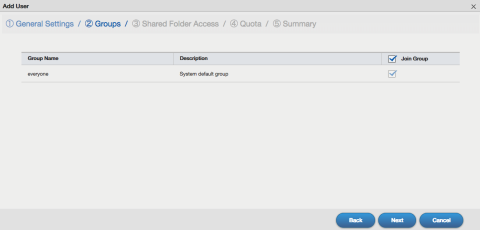
- Specify the user group(s) the account belongs to. By default, there is only one group created in the system, this means only one option will appear. If you have created multiple group objects these will also appear on the list. Click Next to continue with the setup.
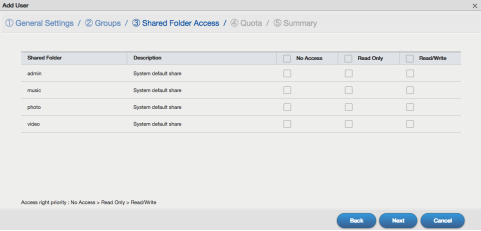
- Specify what shared folders the account will have access to. By default, there are four predefined shared folders: admin, music, photo and video. If you have created additional shared folders, these will also appear on the list. Click Next to continue the setup process.
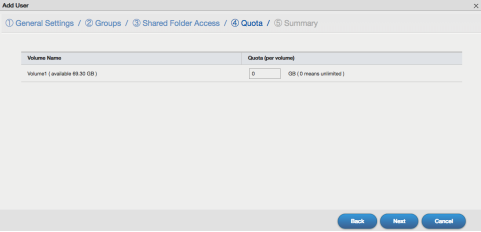
- A storage quota can be determined during the user creation process. Setting a quota will limit the amount of storage the user has available on the NAS device.
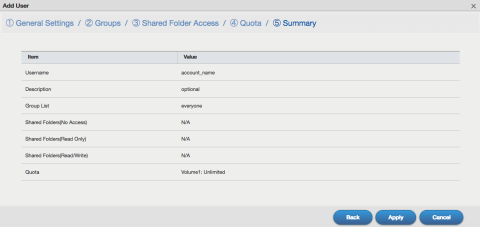
- Finally, there will be a summary of the setup to verify all the settings made during the process. Verify everything is correct and click Apply to create the user account or click the Back button to backtrack to any setting option you wish to change.
Edit User Account and Privileges
To make changes to the user account such as, folder privileges, user credentials, storage quotas, etc. select a user from the list and click the edit icon (icon with notepad and pencil). Click on the tab you wish to make changes to (General Settings, Groups, Shared Folder Access and/or Quota) and make the necessary change(s). Click the Apply button when finished to save the changes.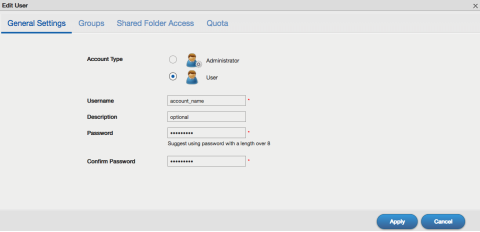
Comments
0 comments
Please sign in to leave a comment.