Overview
There may be different reasons why this would be done, IP conflict being among the highest (especially with VPN users). Using devices with static IP addresses on a different network subnet would be another reason to change the IP settings on the ZyXEL device. It is easier to change the IP on the EMG than it would be to make necessary changes on multiple network devices with static IP addresses assigned.
Supported Devices
EMG1302-R10A
EMG2306-R10A
EMG2926-Q10A
EMG3425-Q10A
LAN Setup
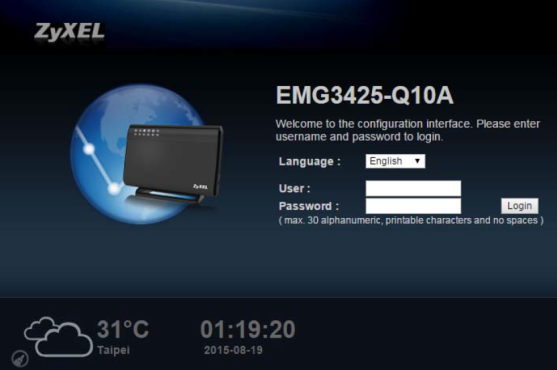
Access your router's web configuration screen by opening a web browser (Internet Explorer, Firefox, etc.) and enter your router's configuration address on the address bar (http://<EMG_IP_Address>). Enter the administrator credentials when prompted and login. Default ZyXEL credentials are admin/1234, this information may be different if device is running custom ISP (Internet Service Provider) settings.

From the status page click on the Configuration menu icon on the far left. 
From the configuration menu select Network → LAN and click the IP tab. From this screen the default IP Address and Subnet Mask can be changed to fit the network’s needs. (To match the old network scheme or remove IP conflicts on the network.)

Click the Apply button to save the settings. Once the settings have been successfully applied you will need to access the EMG appliance Web GUI using the new assigned IP address. (Note: You may need to refresh your computer's IP address to match the new scheme.)
To make changes to the range of IP address the router can assign to clients please go to menu, Configuration → Network → DHCP Server.
- DHCP Server – Enable or Disable the DHCP Server feature (Enabled by default)
- IP Pool Starting Address – First IP address assigned by server
- Pool Size – Max number of IP Addresses the server can assign
- Click Apply to save the settings.

To change the DNS servers provided by the DHCP server please click the Advanced tab. Here you can specify what addresses the clients should use to query domains.
- Select “Obtained From ISP” to pass the DNS servers provided by your ISP (via DHCP) directly to the clients on the LAN.
- Select “DNS Relay” to have the EMG act as a DNS proxy. The EMG will use the ISP provided DNS servers to forward queries to.
- Select “User-Defined” to manually enter the DNS server address you wish to use.
- Select “NONE” if you do not wish to configure the DNS entry.
- Click Apply to save the settings.

Comments
0 comments
Please sign in to leave a comment.